
Starting seeds indoors is a fantastic way to get a jump start on the growing season, especially in regions with shorter summers or unpredictable weather. By carefully managing the initial stages of plant development indoors, you can ensure stronger, healthier transplants that are ready to thrive once the outdoor conditions are favorable. It's a rewarding process that puts you in control of your garden's success right from the beginning.
Benefits of Starting Seeds Indoors
There are several compelling reasons to start your seeds indoors:
- Extended Growing Season: Gain valuable extra weeks or months of growing time by starting plants indoors before the last frost.
- Stronger Plants: Indoor seedlings are protected from harsh weather, pests, and diseases, allowing them to develop robust root systems and sturdy stems.
- Wider Variety: You can grow plants that might not be readily available as transplants at local nurseries.
- Cost Savings: Starting from seed is generally more economical than purchasing established plants.
Essential Supplies
Before you begin, gather the necessary materials:
- Seeds: Choose high-quality seeds from reputable sources. Consider the specific needs and growing requirements of each plant variety.
- Seed Starting Mix: Use a sterile, soilless mix specifically formulated for seed starting. This will provide proper drainage and aeration while minimizing the risk of disease.
- Containers: Options include seed trays, peat pots, or recycled containers with drainage holes.
- Watering Can or Spray Bottle: Gentle watering is crucial to avoid disturbing the delicate seedlings.
- Heat Mat (Optional): Provides consistent bottom heat, which can significantly improve germination rates for some plants.
- Grow Lights: Essential for providing adequate light to prevent leggy growth. Position the lights a few inches above the seedlings and adjust as they grow.
Step-by-Step Guide
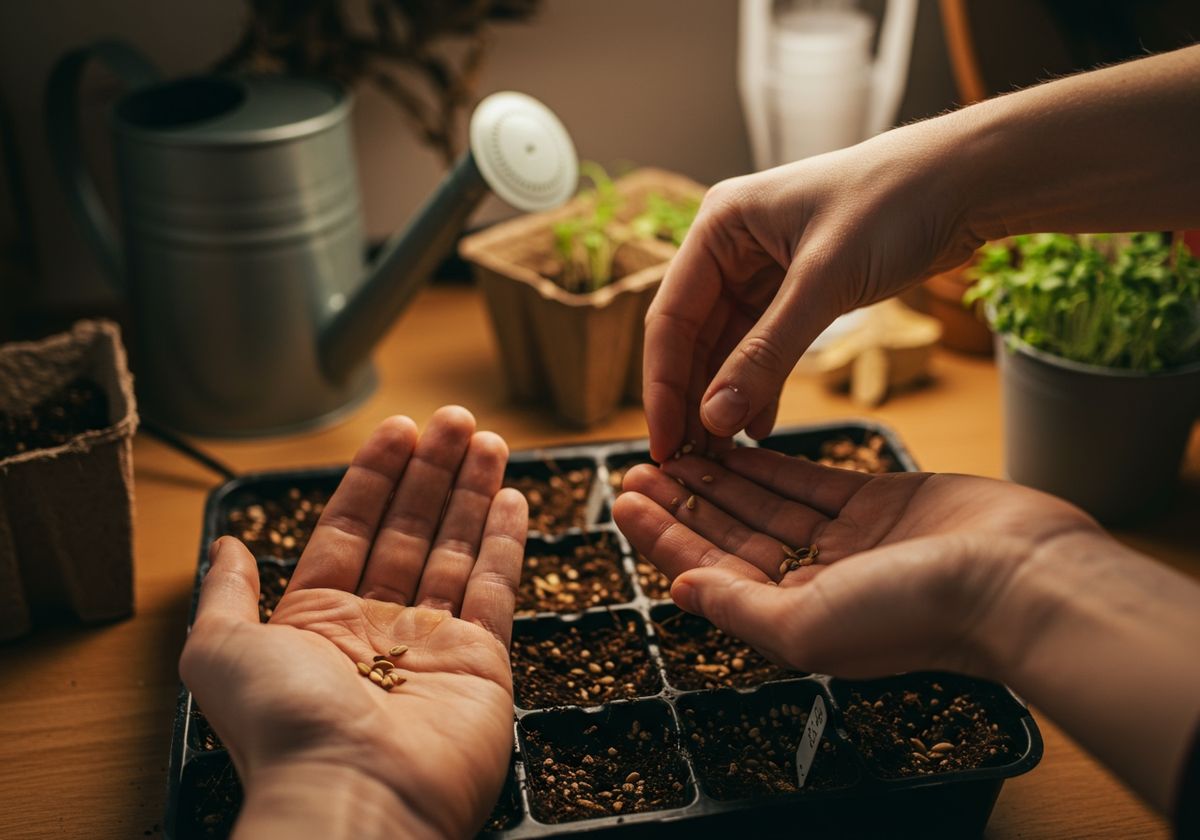
- Sowing the Seeds: Moisten the seed starting mix and fill your chosen containers. Sow seeds according to the instructions on the seed packet, typically planting them at a depth of two to three times their diameter. Gently cover the seeds with the mix and lightly water.
- Providing Warmth and Moisture: Cover the containers with a humidity dome or plastic wrap to create a greenhouse effect. Place them in a warm location, ideally between 70-75°F (21-24°C). Use a heat mat if needed. Monitor the moisture levels daily and mist with water as needed to keep the mix consistently moist but not soggy.
- Providing Light: Once the seedlings emerge, remove the humidity dome and place them under grow lights. Ensure the lights are positioned close enough to the seedlings to provide adequate light intensity. Adjust the height of the lights as the seedlings grow to prevent them from stretching and becoming leggy.
- Watering and Fertilizing: Water the seedlings regularly, allowing the top of the soil to dry slightly between waterings. Once the seedlings have developed their first true leaves, begin feeding them with a diluted liquid fertilizer specifically formulated for seedlings.
- Hardening Off: Before transplanting the seedlings outdoors, gradually acclimate them to the outdoor conditions. This process, called hardening off, involves exposing the seedlings to increasing amounts of sunlight and wind over a period of one to two weeks. Start by placing them in a sheltered location for a few hours each day, gradually increasing the exposure time and intensity.
Starting seeds indoors is a rewarding endeavor that offers numerous benefits for your garden. By following these steps and providing the necessary care, you can cultivate strong, healthy transplants that will thrive in your outdoor garden. TLC Total Lawn Care has been dedicated to nurturing landscapes since 1983, and we understand the importance of a strong start. For more lawn and garden care tips, be sure to check out our other blog posts. If you're in the North Florida area and need assistance with your landscape, don't hesitate to reach out and discover how our customizable packages can be tailored to your specific requirements and budget.